Sunday 4 May 2014

International Scrapbooking Day 2

Hi guys! I'm here today with a follow up to my post back on the 4th of March titled International Scrapbooking Day 1. I said then that as I'd come across two dates that I would celebrate both, so I'm back today with some more layouts to share. I've found today promoted as National Scrapbook Day in America and I've even joined Big Picture Classes "10K" layouts on instagram movement, so I'll let you know how that goes and if the tally reaches the mark. If you want to join along simply click on the badge on the left of this page to go their site.

The first layout I've got for you today I started playing with last night and finished off this morning.


I was pretty happy with this one, I used my Stamp-a-ma-jig to stamp the time on the clock as five instead of the three position the arms are actually in.


Then this morning I created the following layout of my mum and niece.


I really like this one and can't wait to show it to my mum, I think she'll like it. I'm also proud of the fact that I used my own hand writing as part of the title and am happy with how the journalling looks on this one. Like a lot of people I'm not a huge fan of my own writing, but it's something I've been wanting to include on my layouts more and when better to throw my hat in the ring than on National Scrapbook Day.
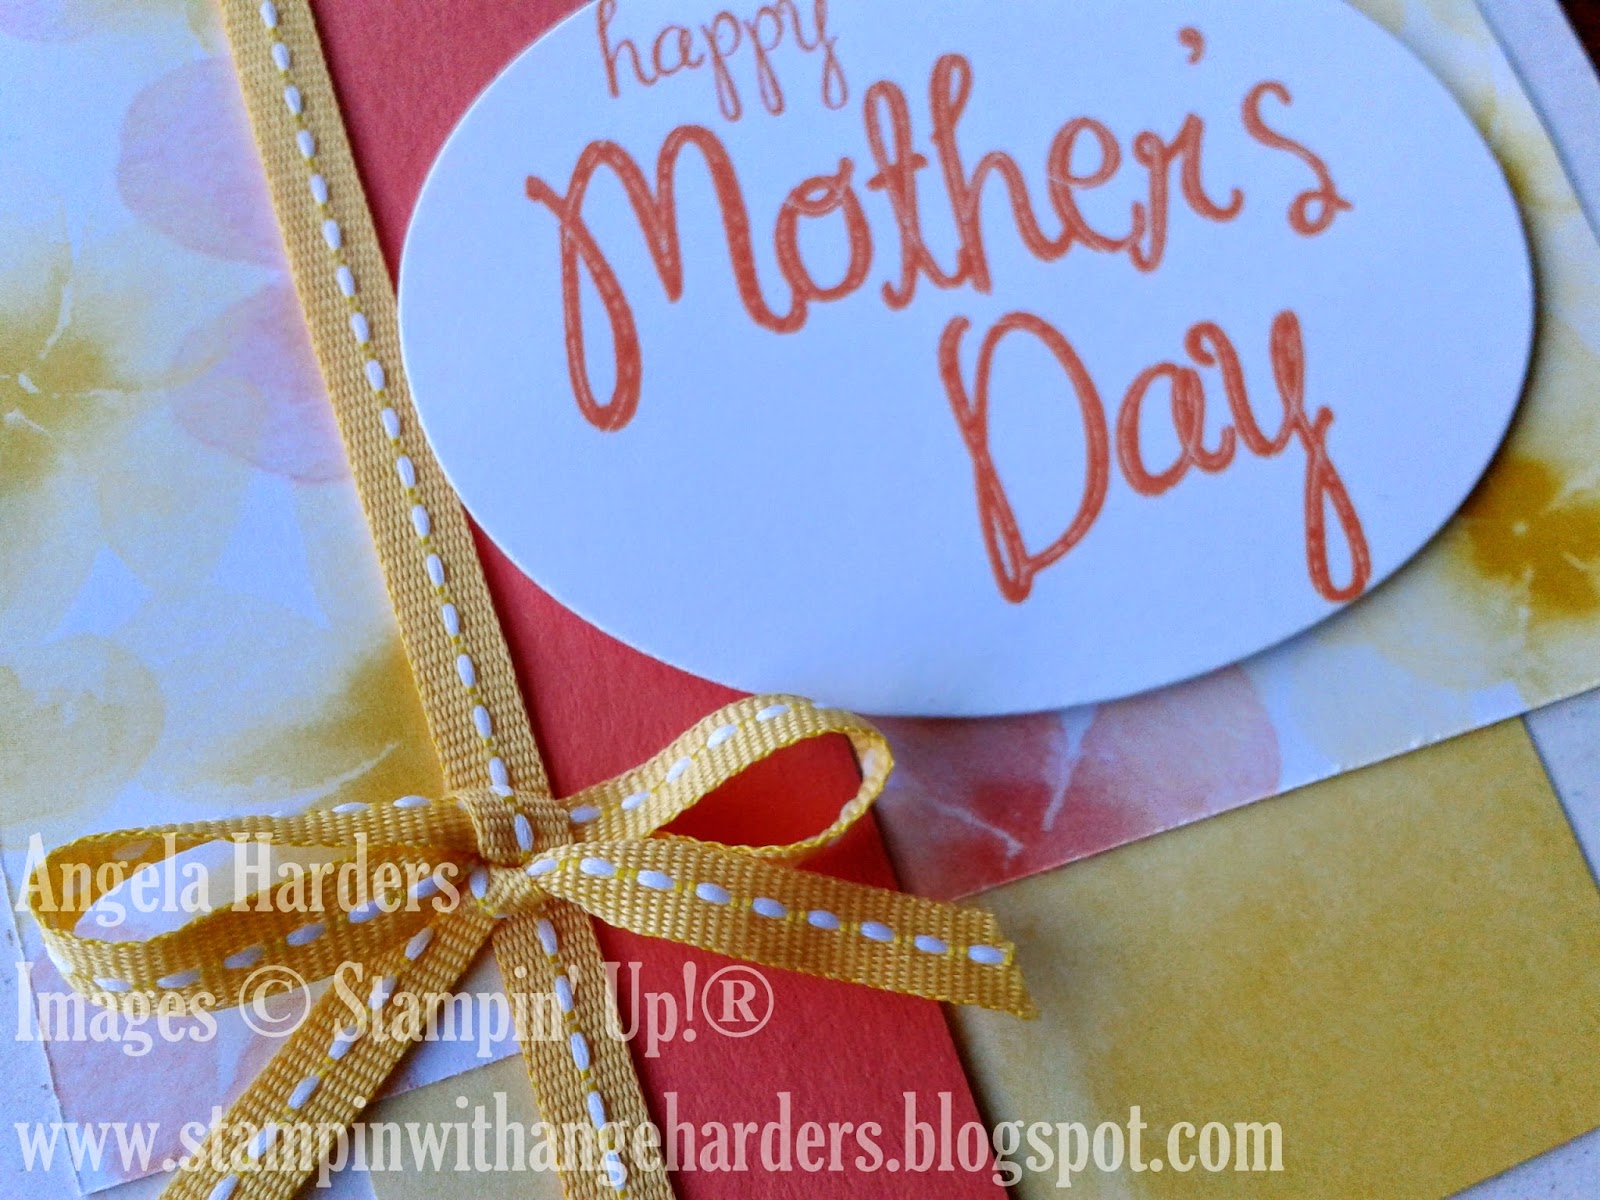

Thanks for stopping by, I hope you've enjoyed NSD. Feel free to leave a comment, I love hearing from you guys. Until next time, happy crafting everyone!

Cheers,
Ange

Wednesday 30 April 2014

Creating Pretty Cards Sketch Challenge (CPC34)

Hi guys, I hope you've all had a lovely Easter and Anzac weekends. I was able to catch up with some family that I hadn't seen since Christmas, one of the things I love most about Easter. That and the excuse to have chocolate play a leading roll in breakfast! Chocolate hot cross buns, yum, need I say more?

Today I've got another entry in Craft Project Central's Creating Pretty Cards. If you've yet to check them out I strongly suggest you do. Their site houses an amazingly talented bunch of stampers. Their sketch this month was great to work with.


And here's what I came up with. I rotated the sketch to accommodate my sentiment, but other than that stuck pretty close to the sketch.


I'm really happy with the end result, I can't believe it's taken my two months to use my first piece of the Watercolour Wonder DSP, it's very beautiful paper. (I'm sure it will be making another appearance here soon.) I used another piece to create the envelope using the awesome Envelope Punch Board, together I think they look fab.


Thanks for taking the time to check out my blog, I hope you find something to inspire you to get your craft on. Until next time, happy crafting everyone!

Cheers,
Ange

Saturday 12 April 2014

Hip Hip Hooray Card Kit

Hi guys! As promised I'm here to share a few things I've made with the new Hip Hip Hooray Card Kit. With what's included in this kit you can make 20 cards with envelopes and all you'll need is the kit and a pair of scissors. How great is that?! So far I've only made 4 cards and a layout and have only been using one of the five sheets of card stock stickers in the kit. I haven't touched the other four sheets yet so this should give you an idea of how much you can achieve with this awesome kit.

First I'll share the cards. When I opened my kit and went to use the Basic Grey Stampin' Spot it was dry, so dry I couldn't even ink up a stamp once. I had my Basic Black Classic Stampin' Pad on my desk so the first card I made has a black sentiment instead of grey as I simply couldn't wait to get ink on that cute stamp. The others have grey as I got up and walked over to the other side of my craft room to get my Basic Grey Classic Stampin' Pad! I know, I have a problem lol! After a quick play with the kit I contacted Stampin' Up! to let them know about the problem with the Stampin' Spot and they're sending me a new Basic Grey Classic Stampin' Pad as a replacement. This is one of the many things I love about this company, they stand by their products and are quick and happy to replace any product you receive that's faulty. It's one of those things that seems to be slowly disappearing nowadays called customer service.


Now these cards I just made without paying any attention to the instructions in the kit as I just wanted to use one sheet of the stickers to begin with. In the kit there is a fold out sheet that has colour pictures of all 20 cards you can make with the kit so you can easily make them without having to over think things if you want. But as soon as I saw this kit advertised I'd thought how great the lined stickers would be as journalling spots on scrapbooking layouts so I chose to just wing it with the cards and used some stickers on the following layout.


I also used one of the card bases as a photo mat, so now I have a spare envelope I can use on another layout. The Designer Series Paper background of this layout is a retired paper, but is currently available in the Clearance Rack while stocks last, at at less than half the original price. So if you like it, grab it while you can! The leaves and doily are all cut from the packing paper from delivery boxes of Stampin' Up! goodness. I thought this colour match the card base much better than Crumb Cake card stock.


I hope this encourages you to take a look at the new Hip Hip Hooray Card Kit, I think this is a very exciting new product from Stampin' Up! 

Thanks for stopping by, and happy crafting everyone!

Cheers
Ange

Thursday 10 April 2014

Burlap and Blooms Simply Created Wreath Kit

 Hi guys! How are you all? It's a miserably wet day here in North East Victoria, perfect weather for staying inside crafting if you can and lucky for me that's what I've been doing! Although I actually put this wreath together a week ago, I just hadn't got round to posting it, so it's also perfect weather for blogging!

I don't know why it took me so long to put this kit together, I've had it sitting on the edge of my desk for almost two months. It's crazy I know. I had to get it but then it just sat there. I think I was a little daunted by having to get out and play with the glue gun. I shouldn't have been worried at all, it came together easily and only took about two hours. I was so happy with the end result that I'm thinking of getting another one to put together and give as a gift, it's that pretty.

If you'd like to purchase one of these kits, simply click here. Everything you need is in the kit except for scissors to cut the ribbon and thread and a hot glue gun for adhering it all together. I'd also recommend a Silicone Craft Sheet to protect your work surface and make assembling the flowers easier and Mini Glue Dots as I used glue dots to glue the individual circle petals then the hot glue gun to glue the circles together to create the flowers. You can use hot glue instead of mini glue dots, I was just trying to minimise the hot glue usage as I end up with strands of it everywhere.

The Kit


And here's a picture of it hanging on the door to my craft room.


Products used in this were simply the Burlap and Blooms Simply Created Wreath KitMini Glue DotsPaper SnipsSilicone Craft Sheet and a hot glue gun.

I had so much fun creating this wreath that I couldn't wait to use the little bit of burlap ribbon I had left over and used some of the Sale-A-Bration paper Sweet Sorbet to make my own take on these circle flowers. I added them as a belly band to one of Stampin' Up!'s Tag a Box. I love it almost as much as the wreath! Let me know which you think looks best.


Now that I've finally posted about this awesome kit I'm off to play with another new product that landed on my desk this week, the Hip Hip Hooray Card Kit. I'll let you know how I go soon. Until then, happy crafting everyone!

Cheers
Ange

Thursday 3 April 2014

Weely Deals For April

Hi guys, sorry I've been MIA for a couple of weeks, I've been busy helping my upline with her swaps for convention as I won't be able to attend. I've also just completed putting together my Burlap and Blooms Simply Created Wreath Kit so I'll post about that shortly, I'm really happy with how it turned out.

But back to today's quick post. I wanted to let you all know about the new Weekly Deals that Stampin' Up! are offering throughout April here in Australia.


Starting this week Stampin' Up! is offering Weekly Deals. These deals will be available from each Wednesday at 9 am through to the following Tuesday. There will be several products at discounted prices as well as a discounted digital download for My Digital Studio users. To check out this weeks specials that started yesterday, follow the link here and if there's anything you want to buy you can do so on line, message me here in the comments section or send me an email to stampinange@gmail.com. 

Stampin' Up! has decided to keep us all in suspense, as demonstrators won't find out what's in the weekly deals until they go live each week, so if you check the website each Wednesday you might beat me to them! 

Happy crafting everyone,

Cheers
Ange

Thursday 6 March 2014

Clean and Simple Get Well Card

Hi guys! Today I've got a card to share with you that I describe as clean and simple. There's not much going on in the way of embellishments, in fact I've used the stamped image itself as the only embellishment on the card. This card came together quickly and is already in the post to a relative whose been a little under the weather of late. I hope she likes it and it cheers her up some what to know that we are thinking of her.


I created the stamped embellishment by stamping the image on the card front, then twice more on some Whisper White Card Stock before sending them through the Big Shot using two of the Secret Garden Framelits to cut the flower shapes. Then I simply lined them up on top of each other and secured them all in place using Stampin' Dimentionals to really make the image pop.

Products used on this card include Note Cards & EnvelopesWhisper White A4 Card Stock, So Sorry Stamp Set, Blooming With Kindness Stamp Set, Sweetly Framed Stamp Set (Hostess), Early Espresso Classic Stampin' Pad, Pumpkin Pie Classic Stampin' Pad, Old Olive Stampin' Write Marker, Stamp-A-Ma-Jig, Big Shot Die-Cutting Machine, Secret Garden Framelits and Stampin' Dimentionals. All these and much more are available in my on line store where you can browse and shop in your pyjamas after the kids are in bed, or in the morning before work, or while you're enjoying a little quite time and a cup of coffee, any time that suits you at all.

If you have the Blooming With Kindness Stamp Set but not the Secret Garden Framelits or a Big Shot you could still replicate the look of the flower by fussy cutting two smaller flowers out of the extra stamped images. It would take a little longer but give you the same effect. 

I hope you like this card and can appreciate that simple cards can be just as stunning as ones with lots of elements to them. 

Until next time, happy crafting everyone!

Cheers
Ange

Tuesday 4 March 2014

International Scrapbooking Day 1

 Hi guys! Happy International Scrapbooking Day!!! I've got two layouts to share with you today, a double and a single layout. The single layout I created yesterday and the double I'd started last week and just couldn't seem to get one of the pages right, so left it for a while and finished it yesterday also. So I'll start with the double layout, as it really did cause me some trouble. I still don't love the first page, which is the one I struggled with, but I'm happy enough with it and it's now in my album.

Left Page

Right Page


I'm glad I've finally scrapped these photos. Hubby and I had stopped for lunch at the Maroondah Dam Reserve and all of a sudden we were inundated by birds. They were all over the car as well as landing on us! Greg even had one land on his wrist and start nibbling on his roll!!! Something I'll never forget. 


The single layout went together quickly and I love it!


The text and butterflies on the photo were added in Photoshop before printing a few years ago. The photos on all these layouts have been in my "to do" pile for ages. My goal for this year is to slowly reduce the height of that pile (and by pile I mean drawers full of photos), not sure if I can manage it but I'm sure going to try. I guess celebrating International Scrapbooking Day twice this year may help.

So again, happy ISD and happy crafting everyone!

Cheers
Ange

Monday 3 March 2014

Creating Pretty Cards Sketch Challenge (CPC33)

Hi Guys! Today I've got a card to share with you that I've created to enter in Craft Project Central's Creating Pretty Cards Sketch Challenge, simply follow the link to find out more about this challenge.

I have an Aunt whose birthday is next month and think this will be the perfect card to give to her.


If you check out the original sketch here, you'll see I've changed it up a little by turning it on to it's side. Other than that I've stayed pretty close to the sketch. I'm happy with how it turned out. 


Now I'm off to create some scrapbook layouts to share with you all tomorrow to get into the spirit of International Scrapbooking Day. Well one of them anyway. After stumbling across something on line stating tomorrow was ISD I "googled" International Scrapbooking Day 2014 and found two different dates, tomorrow the 4th of March and also the 3rd of May. I've participated in ISD before in May, so feel that is the more legit date, but I've decided I'm just going to celebrate it twice this year. Because honestly, is one day enough to recognise our scrapbooking efforts and endeavours? I don't think so. So join me tomorrow and again in May and celebrate International Scrapbooking Day twice! 

Happy crafting everyone!

Cheers
Ange

Friday 28 February 2014

Hip Hip Hooray Card Kit

Hi guys! Just a quick post today to let you know that Stampin' Up! has just released a new product in Australia and New Zealand as part of Sale-A-Bration called the Hip Hip Hooray Card Kit.

This kit is perfect for those new to card making as it contains everything you need to create 20 cards including the envelopes.The only other thing you'll need are a pair of scissors. 


The kit contains 20 card bases and envelopes, 3 cling mount stamps, a clear block, a Basic Grey Stampin' Spot (mini ink pad), self adhesive die-cut embellishments, Stampin' Dimensionals, twine, clips and a full-colour instructional brochure on how to make 20 different cards.


If you'd like to get your hands on one of these kits for the awesome price of only $34.95 AU plus postage, simply click here or on the image in the side bar or simply leave me comment if you'd like to know more.

These kits equal great value for money as they work out to only $2.05 per card including postage. Add a pair of Stampin' Up!'s Paper Snips to the order if you don't already own a pair, and with postage it still only works out to $2.90 each for a card hand made by you! So much better than store bought.
  Go on, get crafting!

Cheers
Ange
 

Monday 24 February 2014

Anniversary Card

 Hi guys! Just a short post today, I just couldn't wait to share this card. I made it with the inked watercolour background I showed you how to make last time. I'm sure you haven't had time to try this technique yet, but when you have a moment you really should give it a go. I'd love to hear what you think of this technique and would absolutely love to see how your creations turn out!

My husband and I will be celebrating our fifth wedding anniversary this Sunday, so I turned that background and inked ribbon into an anniversary card for him.


 I'm incredibly happy with the resulting card, I think it looks really pretty, but feel that the black matting and blue and purple colour scheme make it masculine enough to be given to my husband.


 What do you think? Would you feel confident labelling this a masculine card? Please leave me a comment below, I love hearing from you guys!


Punches used in this are Modern Label Punch, Word Window Punch, Small Heart Punch and the two little hearts are from the Owl Builder Punch. The sentiment is from Teeny Tiny Sentiments and I've stamped it using StazOn Jet Black Ink Pad. I used Basic Black A4 Card Stock, Silver Glimmer Paper and half a doily from a packet of Tea Lace Paper Doilies along with Stampin' Dimentionals and Snail Adhesive. All these items and much more are available in my on line store, simply click on the Shop Now button  in the top left hand corner of this page if there's anything you need! Best of all, it will be shipped directly to you, how convenient is that?

Until next time, keep safe and happy crafting everyone!

Cheers
Ange